
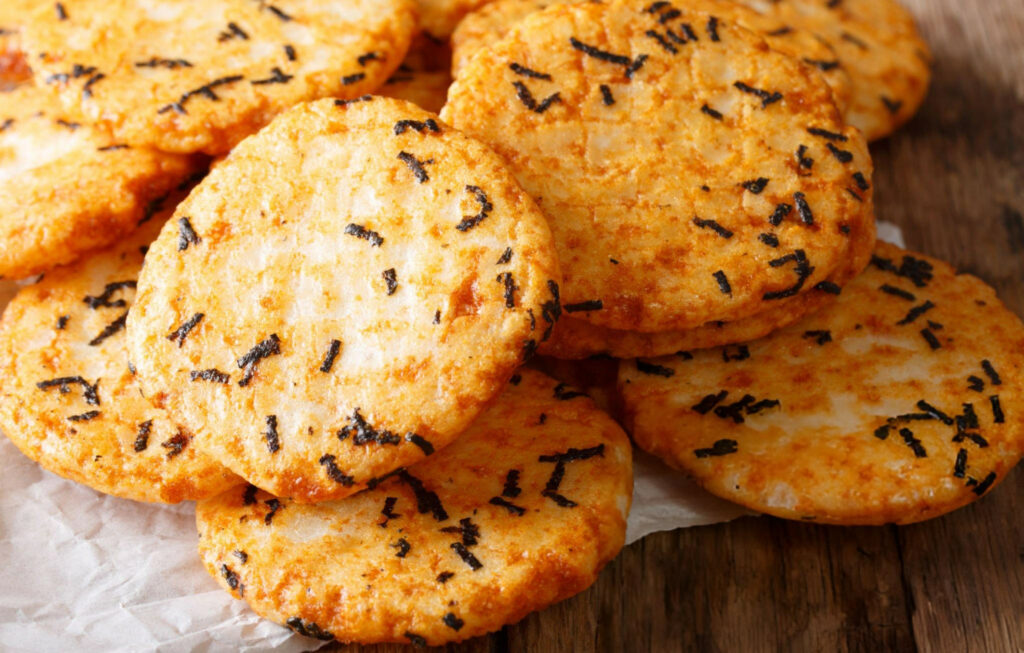
Griddled Rice Cakes with Furikake Recipe
There’s something irresistibly satisfying about the crunch of a perfectly griddled rice cake. Crispy on the outside, tender on the inside, these modest disks of rice capture the essence of comfort food in its simplest form. Their golden crust gives way to soft, seasoned rice, delivering a textural contrast that’s both hearty and nostalgic.
Ingredient Breakdown
The success of griddled rice cakes hinges largely on ingredient selection and quality.
Sushi rice is the undisputed star of this recipe. Its short-grain structure and higher starch content give the rice the necessary stickiness, ensuring the cakes hold together during cooking. Long-grain varieties like basmati or jasmine simply won’t provide the same cohesive texture.
Flour and salt, though minimal in quantity, play vital supporting roles. A dusting of all-purpose flour binds the rice without toughening it, while kosher salt seasons the grains, highlighting their natural sweetness and ensuring the cakes aren’t bland.
Furikake brings a dynamic burst of flavor, but it’s not the only option. The possibilities for topping are endless, from soy dipping sauces to spicy blends. Choosing a furikake mix rich in toasted sesame seeds and seaweed enhances the cakes’ savory notes, while a drizzle of soy sauce offers a classic salty counterpoint.
Vegetable oil, though humble, is a critical choice. A neutral oil with a high smoke point ensures the cakes achieve a rich, golden crust without overpowering the rice’s delicate flavor. Opting for a light, clean oil guarantees a crisp exterior and a whisper of richness in every bite.
Step-by-Step Preparation Guide
Prepping the rice is a delicate balancing act. Spreading the rice in an even layer and gently folding it with flour and salt ensures the grains are evenly coated. Care must be taken to avoid mashing the grains—keeping them intact preserves the textural integrity of the final dish.
When it comes to shaping, water is your secret weapon. Lightly dampened hands prevent the rice from clinging stubbornly to your fingers, allowing you to form tight, compact balls with ease. Pressing the balls into disks that are about 3 inches wide and 1/2 inch thick creates the ideal structure: thin enough to crisp up, yet thick enough to retain a soft center.
Mastering the griddle is all about patience. Heating the oil until shimmering ensures an immediate sear when the cakes hit the pan. Avoid the temptation to move them around; letting them cook undisturbed develops that coveted deep golden crust. Once flipped, a fresh drizzle of oil guarantees the second side crisps to match, while occasional sliding ensures even contact with the skillet.
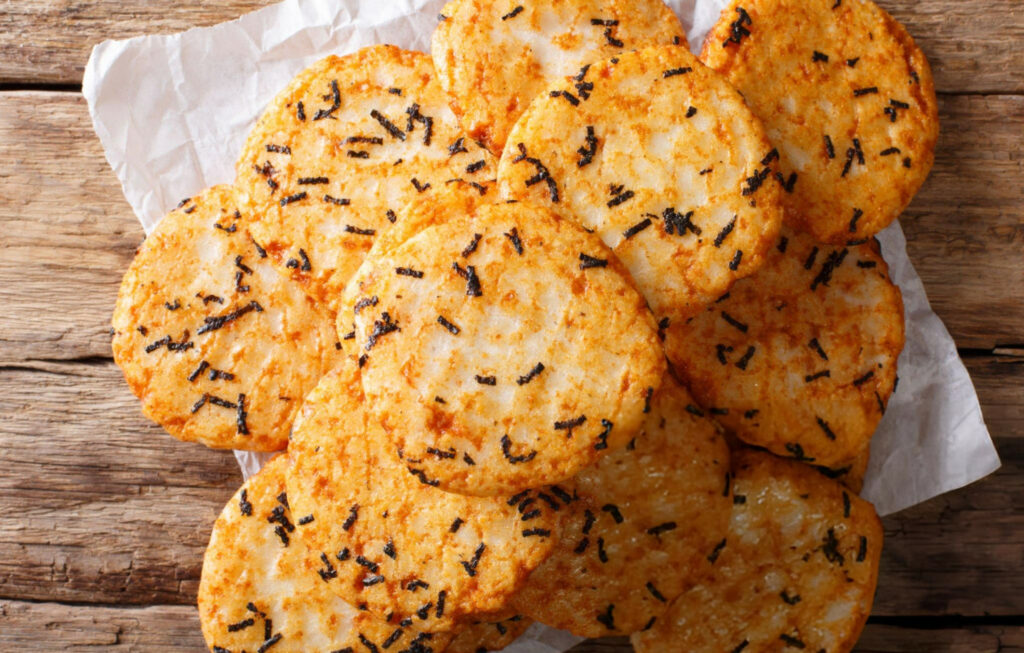
As the final touch, a generous sprinkle of furikake transforms these simple cakes into a flavor-packed snack. For those who prefer dipping, serving the cakes alongside soy sauce or ponzu offers an extra layer of savory brightness that complements the toasty exterior.
Recipe Tips & Frequently Asked Questions
Tricks to keep rice from sticking to your hands
Keep a small bowl of water nearby and dampen your hands between shaping each cake. A slight sheen of moisture prevents sticking without soaking the rice.
How to ensure even browning on both sides
Use medium heat and allow the rice cakes to cook undisturbed until naturally releasing from the pan. This ensures a consistent, golden crust.
Adjusting cooking time based on rice temperature (warm vs. cold)
Warm rice may cook slightly faster, while cold rice needs an extra minute or two per side to fully heat through and crisp up.
Why a nonstick skillet is essential for this recipe
The delicate nature of rice cakes makes sticking a risk. A nonstick skillet ensures easy flipping and prevents the cakes from tearing or breaking apart.
Can I use other types of rice for this recipe?
Short-grain or medium-grain rice varieties with higher starch content are best. Long-grain rice lacks the stickiness needed to hold the cakes together.
How do I store and reheat leftover rice cakes?
Store cooled rice cakes in an airtight container in the refrigerator for up to three days. Reheat in a skillet over low heat or in a 350°F oven until warmed through and crisp.
Is it possible to bake or air fry these rice cakes instead?
Yes, for a lighter option, brush them with oil and bake at 400°F for about 15–20 minutes, flipping halfway. Air frying at 375°F for 10–12 minutes also yields a crisp texture.
Can the rice cakes be made in advance and cooked later?
Absolutely. Shape the rice cakes ahead of time and refrigerate for up to a day. Bring them to room temperature before griddling to ensure even cooking.
What to Serve With This Recipe
Pairing these rice cakes with a crisp, refreshing salad provides a lovely counterbalance to their hearty nature. Think shaved cucumber dressed in rice vinegar or a simple daikon slaw for a bright, tangy contrast.
Dipping sauces can elevate the experience beyond soy sauce. Consider a ginger-scallion dipping sauce, spicy sriracha mayo, or a citrusy ponzu for additional layers of flavor.
As for beverages, green tea provides a clean, slightly astringent sip that refreshes between bites, while a chilled glass of sake or even a crisp lager complements the umami-rich notes of the furikake beautifully.
Creative Variations
Infusing the rice with additional flavors before shaping can offer delightful twists. A spoonful of miso paste folded into the rice introduces a deep savory note, while sesame seeds or finely sliced scallions add texture and freshness.
For those who like to experiment with toppings, swap out the furikake for bonito flakes, a sprinkle of togarashi for some heat, or even quick-pickled vegetables for a bright and tangy finish.
Shaping the rice cakes into smaller, bite-sized versions transforms them into perfect party appetizers—crisp, flavorful, and easy to eat with your hands.
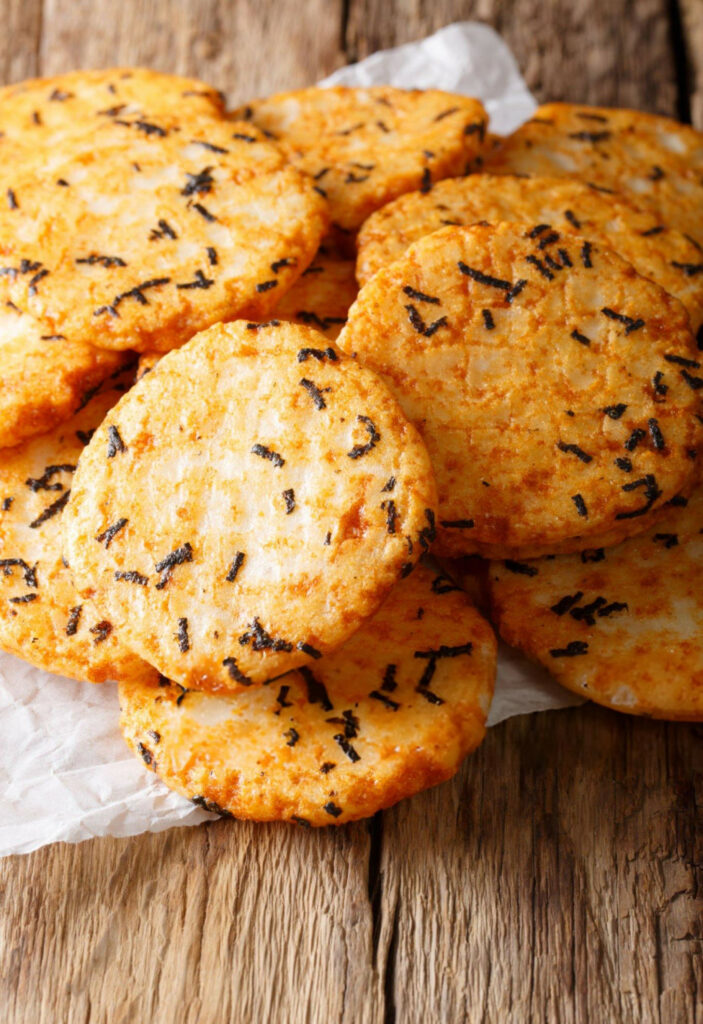
Griddled rice cakes with furikake are a celebration of simplicity and texture, transforming humble ingredients into a dish that’s both satisfying and versatile. Whether enjoyed as a quick snack, a side dish, or a part of a larger meal, they offer endless opportunities for creativity and flavor exploration.
Ingredients
3 tablespoons vegetable oil, divided
2 packed cups cooked sushi rice, warm or cold
1 tablespoon all-purpose flour
1/4 teaspoon kosher salt
Furikake, for garnish, or soy dipping sauce for serving
Instructions
In a medium-sized bowl, scatter the cooked sushi rice across the bottom in an even layer. Sprinkle the all-purpose flour and kosher salt over the rice. Using a rice paddle or damp hands, gently fold and mix the ingredients together until each grain is lightly coated and no visible flour remains.
Prepare a small bowl of water to help manage stickiness. Divide the rice mixture evenly into four portions. Working one portion at a time, lightly wet your hands and shape the rice into a compact ball. Flatten the ball into a disk approximately 3 inches wide and 1/2 inch thick. Press and smooth the edges to maintain a clean, round shape. Transfer each finished rice cake to a plate as you form them.
Heat 2 tablespoons of vegetable oil in a medium nonstick skillet over medium heat until the oil shimmers and easily coats the pan when swirled. Carefully add the rice cakes to the skillet. Cook undisturbed until the bottoms are a rich golden-brown color, about 5 minutes.
Using a spatula, gently flip each rice cake. Add the remaining tablespoon of oil to the pan. Continue cooking, occasionally sliding the rice cakes around to ensure they soak up the oil and brown evenly, about 4 to 5 minutes longer. Once both sides are deeply golden and crisp, remove from the skillet.
Serve the rice cakes hot, generously dusted with furikake or alongside a small dish of soy dipping sauce for an extra savory touch.

Griddled Rice Cakes with Furikake Recipe
Ingredients
- 3 tablespoons vegetable oil divided
- 2 packed cups cooked sushi rice warm or cold
- 1 tablespoon all-purpose flour
- 1/4 teaspoon kosher salt
- Furikake for garnish, or soy dipping sauce for serving
Instructions
- In a medium-sized bowl, scatter the cooked sushi rice across the bottom in an even layer. Sprinkle the all-purpose flour and kosher salt over the rice. Using a rice paddle or damp hands, gently fold and mix the ingredients together until each grain is lightly coated and no visible flour remains.
- Prepare a small bowl of water to help manage stickiness. Divide the rice mixture evenly into four portions. Working one portion at a time, lightly wet your hands and shape the rice into a compact ball. Flatten the ball into a disk approximately 3 inches wide and 1/2 inch thick. Press and smooth the edges to maintain a clean, round shape. Transfer each finished rice cake to a plate as you form them.
- Heat 2 tablespoons of vegetable oil in a medium nonstick skillet over medium heat until the oil shimmers and easily coats the pan when swirled. Carefully add the rice cakes to the skillet. Cook undisturbed until the bottoms are a rich golden-brown color, about 5 minutes.
- Using a spatula, gently flip each rice cake. Add the remaining tablespoon of oil to the pan. Continue cooking, occasionally sliding the rice cakes around to ensure they soak up the oil and brown evenly, about 4 to 5 minutes longer. Once both sides are deeply golden and crisp, remove from the skillet.
- Serve the rice cakes hot, generously dusted with furikake or alongside a small dish of soy dipping sauce for an extra savory touch.